March 7th - 2022: Quick Transfer
- havenmilne20
- Mar 8, 2022
- 3 min read
When reflecting and looking back on my previous print work, I remembered how hard it was to transfer imagery/designs onto lino, since I am not the best artist in copying thing by eye.
So I began to research methods of which I could transfer my designs over to the lino.
I began to look on the internet for said methods and then try them out. I came across a site listing the 'top ten ways' to transfer designs over onto lino.
In said list was the process of gluing a design face up on paper and then cutting through each individual line with craft knife to score the design into the surface of the lino, only to wash away the paper and carve out the almost invisible scratches. I tried this method ages ago and remembered how long it takes to do, so I cancelled that out entirely as by the end of one lino my hands would be aching like hell.
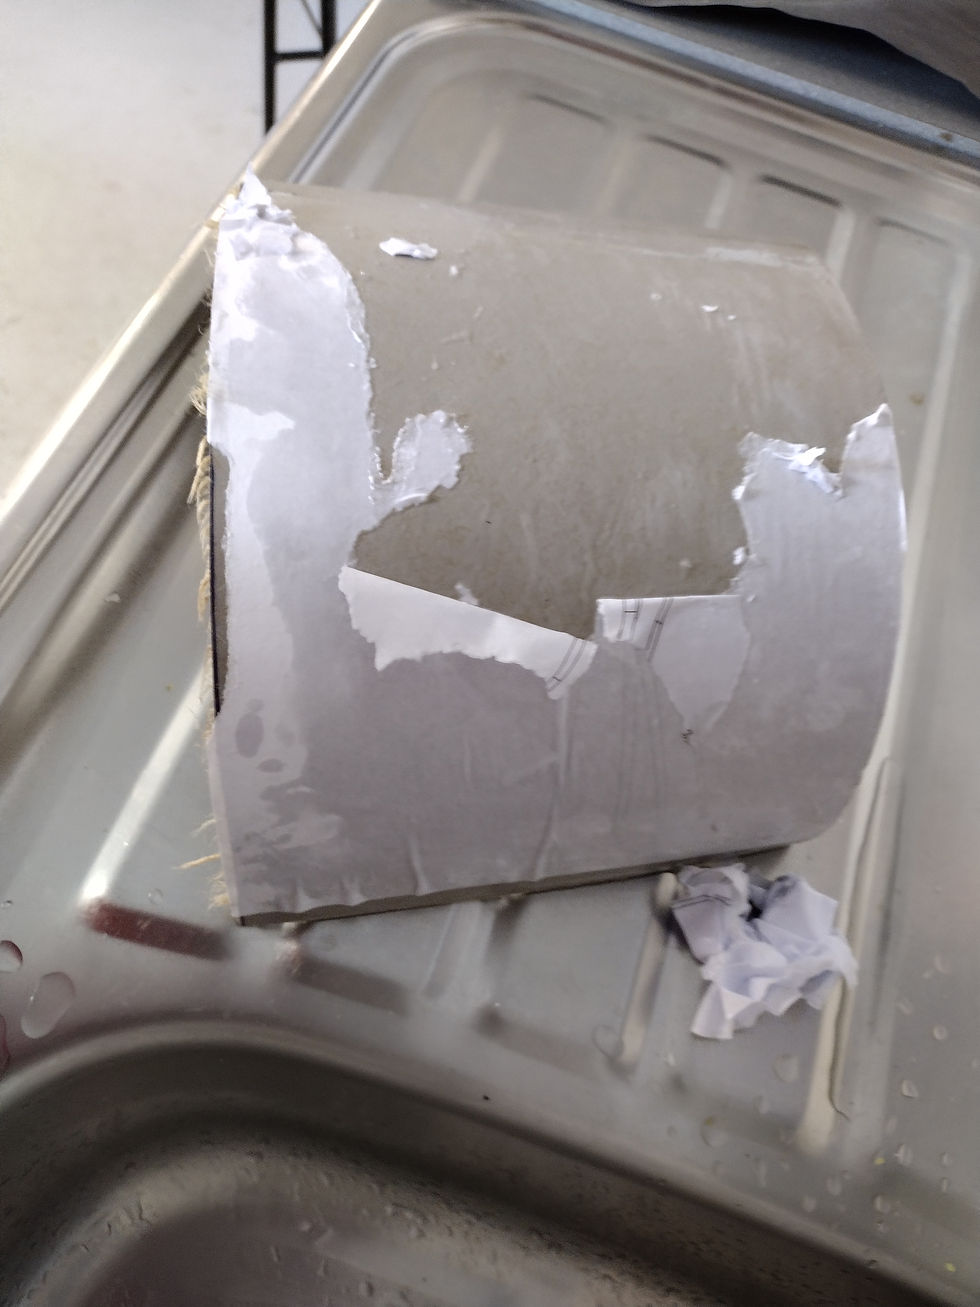
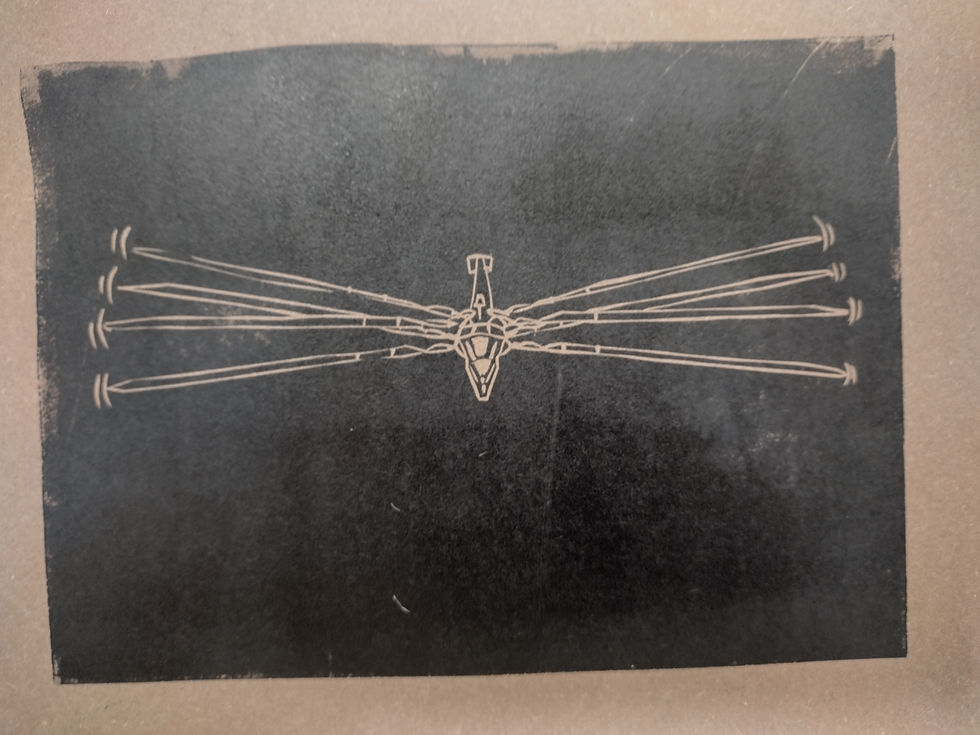
Onto the next one. The second method I tried was by printing a design off through a photocopier, the image being reversed, then gluing into on the lino face down using PVA and letting it set until it was mostly hard, only to wash it off and leave the design behind. This failed as well, due to having done it three times and trying it differently each time I couldn't get it to work, so in the end that was scrapped too, letting it drift out of my head for the remainder of the day, just like the PVA soaked paper ripping, peeling and washing away off the lino down the drain. (AS SHOWN BELOW)
THEN! SUCCESS! As well as trying the lino transfers, I was also at the same time trying to get the college laser-cutter back in working order after a few months of almost idleness, ready for possible use during the FMP. Now, since is a laser, it will essentially be burning everything that is tries to cut through, so I had to make sure that the lino had no chemicals in that which would become toxic if they were to catch fire and burn, or just burn. Thankfully Marmoleum, the type of lino I have been using, has no major chemicals in it, and is entirely made from natural, safe recycled materials!
SO IN GOES THE LINO!
But wait! What's this? Oh, yes! LINO ISN'T FLAT! So, that was another problem to solve.
Which I did.
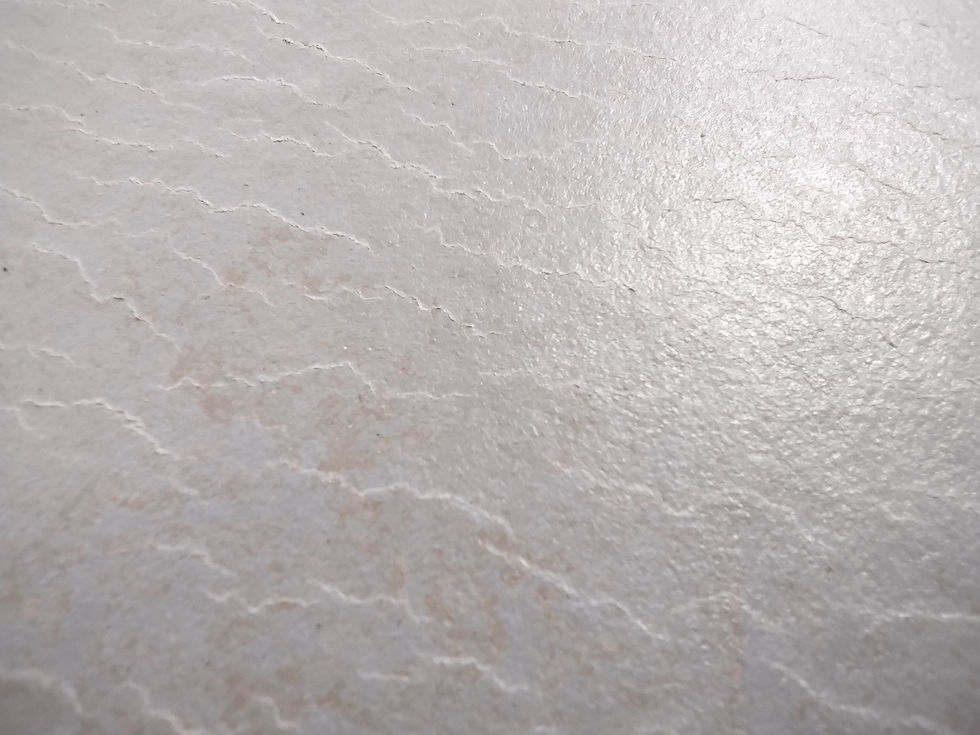
I had a think about and realised that often when anything is bend or curled you can flatten it by compressing it, or putting it between two books and so on . . . Or even place it through a print press! So I got the idea, since lino needs to heated to be cut, bent or shaped, I heated a sheet of Marmoleum, placed it onto the press bed and ran it through, and out came a flat piece of once curved lino, with a strange but interesting new rough and graining texture, which almost looks like the wrinkles on a face or the grain on bark from a tree.
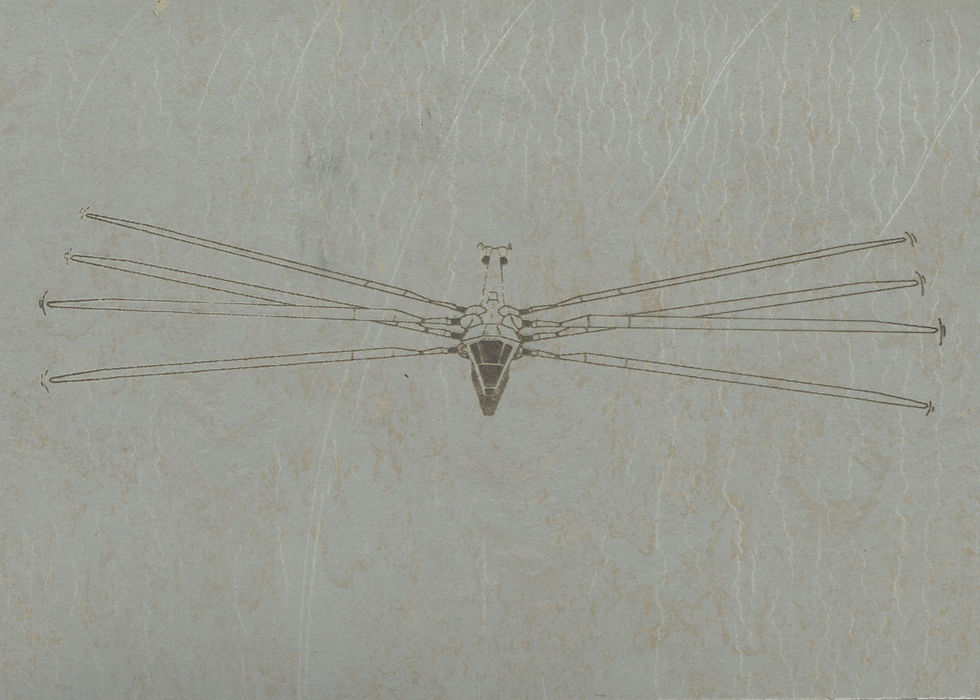
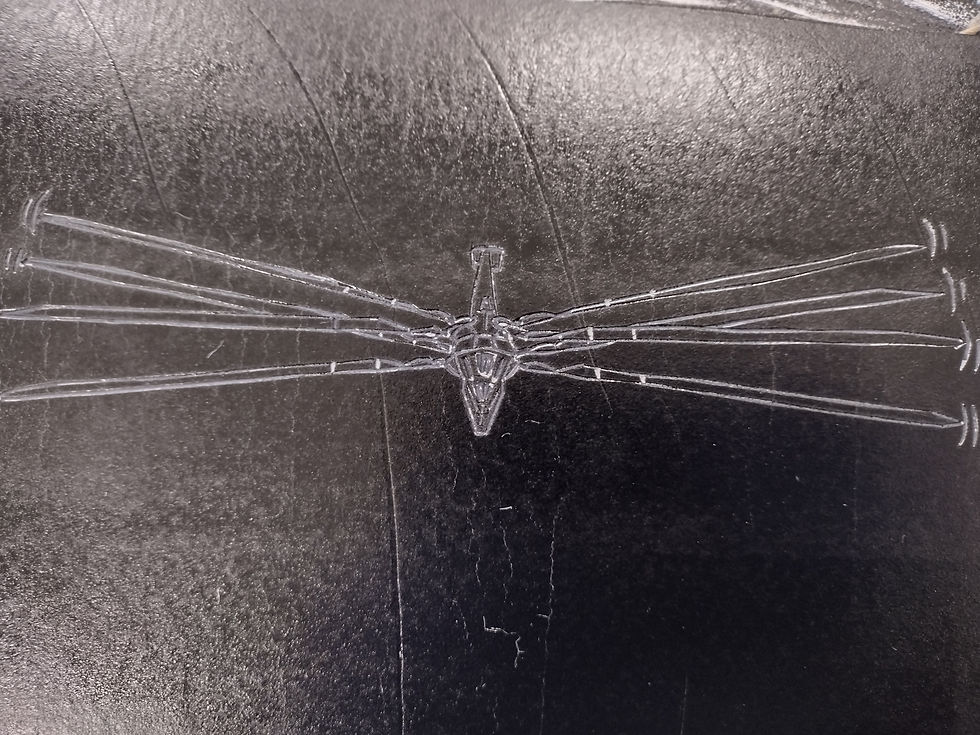
After flattening the lino, I rammed it into the laser-cutter (not literally, don't worry) and ran a design over it. It took a few tries with changing the settings, both laser and fan, as well as re-flattening the Marmoleum again, until finally the design was gently burnt into the surface of the lino, and was there for me to carve into.
In which I did, and then printed. So now I have found my main and fastest method of transferring designs over onto the lino!
References:
Takahashi, L. and Takahashi, L., 2022. The Best Way to Transfer Images to Lino - Jackson's Art Blog. [online] Jackson's Art Blog. Available at: <https://www.jacksonsart.com/blog/2021/11/19/the-best-way-to-transfer-images-to-lino/> [Accessed 8 March 2022].


Comments